At the last big Facebook conference Mark Zuckerberg and SNL comedian Andy Samberg kept talking about Beast, Mark’s new dog. They would show a Facebook Page with all these photos, comments, and fans.
Which got me thinking that if Mark Zuckerberg, the founder and CEO of Facebook, can have a page for his dog…then so can I!
I have been hoping for a way to bring my puppy into the social network, after all, my parents and friends from birth are on it. Why not our pets?
In four easy steps we can set-up a Facebook Page for your pet and have it look professional, just like Mark Zuckerberg’s. All you will need is some basic information and a few pictures. Let’s get started.
Step 1 – Create a Page
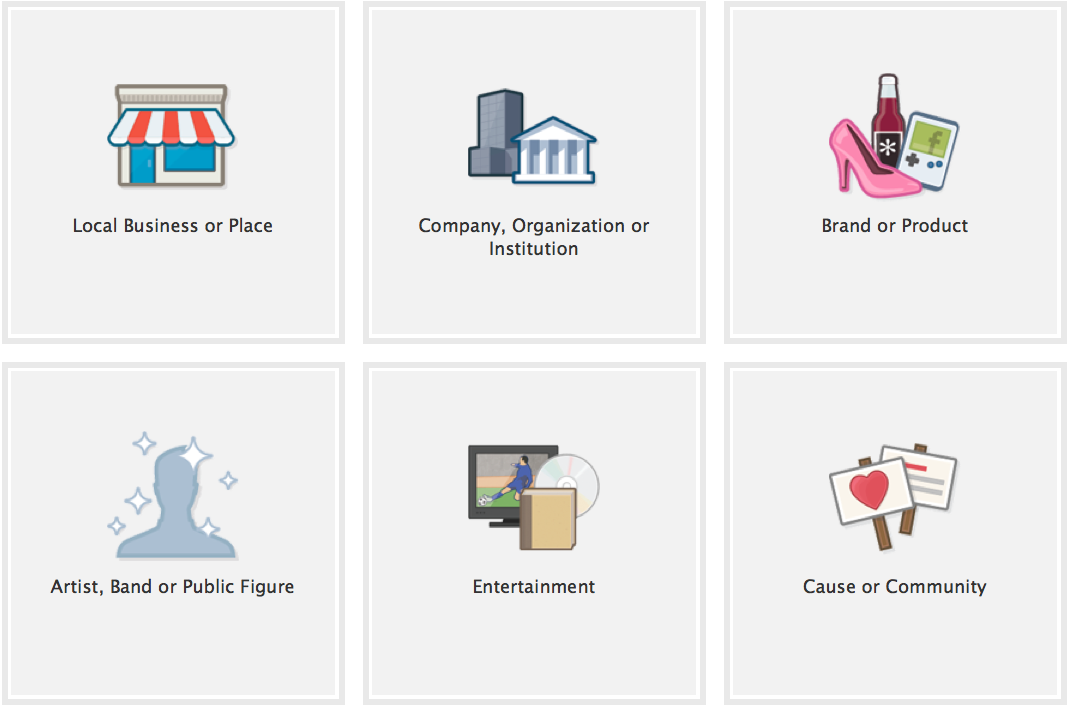
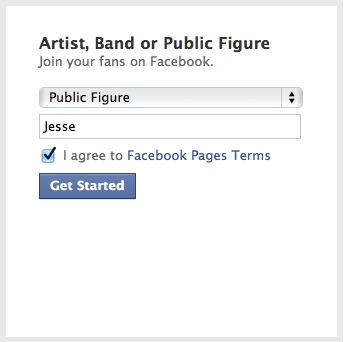
Choose what type of page you want. For your pet, start with “Artist, Band, or Public Figure,” then for your category choose ‘public figure’ and add the name of your pet.
Step 2 – Edit Info
After creating your page there will be a wizard but I suggest skipping it. After that you will be on your main page, click on “Info” on the left side menu. Then click “Edit Info,” located towards the top/middle.
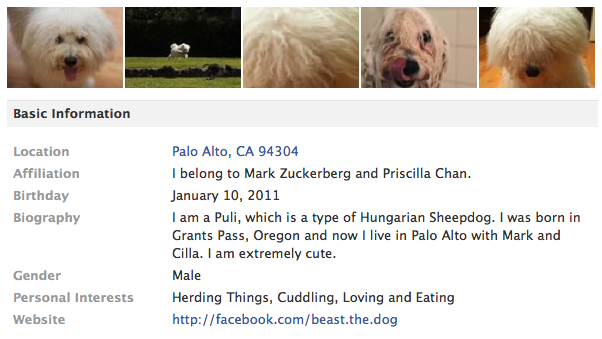
From here you have a wide range of options, but if you want to follow Mark Zuckerberg then only fill out these:
- Location
- Affiliation
- Birthday
- Biography
- Gender
- Personal Interests
- Website
*Note: you will need to wait a while or get 25 fans to choose a username. This is important because it also becomes your website URL (facebook.com/beast.the.dog). So start thinking of the username you want (I chose facebook.com/fuzzy.the.dog).
Once completed, hit “Save Changes,” (located at bottom) and then “View Page” (located at top right).
Step 3 – Add Photos
Mark has over 60 photos of Beast. I have twelve. You will need six to get started. Five of them for the photo bar at the top of your page and one for a profile picture.
Get your photos on your computer and then click “Photos” on the left menu, and then click “Upload Photos”.
 You can select multiple photos at a time. Try to upload all six at once. While they are uploading add a name for this “album” like profile pics or getting started.
Once they are uploaded you can add descriptions and names to each photo. Hit “Save” and then “Publish” to finish the process.
Now, you are looking at all your photos in your album. Click on the photo you want as your profile picture for your pet. Scroll down towards the right and click on “Make Profile Picture for Page”.
Adjust the cropping and hit “Done Cropping”.
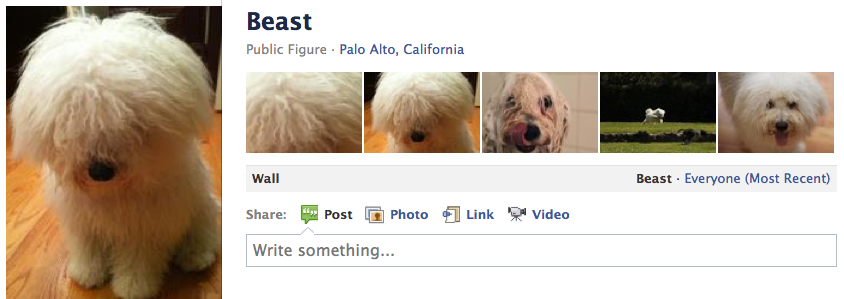
Good job! Now your page should be nearly complete and looking good:
Step 4 – Add Owners
From main view of your page go to the right menu where it says “Admins” and click “See All”. You will already be listed but you can add your partner, spouse, children, etc.
Once you add in the admins and verify everything, go to the menu on the left side and click “Featured”. Click on the box that says “Add Featured Page Owners”. Check all the boxes, hit save, and then on the top right-click “View Page”.
On the left menu you will now see the “Page Owners”, a great way to bring the whole family onto the page.
Done!
Voilà!
You now have a page for your pet. Let all your friends know so they can become a fan/like. Keep adding photos, share some stories, and enjoy having your pet on Facebook.
For more help and info check out the one I created: Fuzzy.the.Dog


